Download The RWD Complete Shade Matching Protocol
Access our comprehensive 11-page professional guide featuring detailed photography instructions, equipment specifications, submission checklists, and troubleshooting solutions. This resource ensures consistent results across all restoration types.
Avoid The $2,000 Shade-Matching Mistake!
A prominent Sydney cosmetic dentist once shared a sobering story: a patient’s $2,000 crown replacement that looked technically perfect was rejected because it was “too white.”
The issue wasn’t the fit, the margins, or the craftsmanship – it was a shade mismatch of less than one Vita guide increment. That single case highlighted why even the most skilled dentists now invest heavily in systematic shade-matching protocols.
In today’s aesthetic-driven dental landscape, patients can easily spot an unnatural restoration. Social media has elevated expectations, and dental work that might have been acceptable a decade ago now stands out like a beacon.
The difference between a satisfied patient and a disappointed one often comes down to those crucial minutes spent capturing the perfect shade match.
Key Points:
- Equipment essentials: DSLR camera with macro lens, 5500K lighting, multiple shade tabs
- Critical factors: Keep teeth hydrated (dry teeth appear 15% brighter), use consistent lighting, position shade tabs edge-to-edge
- Photography sequence: 5 essential shots, including close-ups with shade tabs, retracted smile, natural smile, detailed analysis, and overall integration
- Results: Proper protocols reduce remake rates by 60-75% and increase patient satisfaction by 25%
- Investment: Initial setup costs $2,000-5,000 but generates 30-40% more referrals through superior outcomes
- Bottom line: Systematic shade documentation transforms good restorations into exceptional, undetectable results
Getting Colour Right Every Time
Quick Answer: Professional dental shade matching requires 5500K daylight lighting, hydrated teeth, systematic photography with DSLR cameras, and precise shade tab positioning. Following standardised protocols reduces remake rates by 60-75% and improves patient satisfaction significantly.
Why Perfect Shade Matching Matters More Than Ever
Modern patients expect their dental work to be invisible. This demand for aesthetic excellence has pushed laboratories to develop more sophisticated shade-matching protocols that combine traditional craftsmanship with digital precision. RWD Dental Image has risen to the challenge to support all our Dentist partners.
The stakes have never been higher. With patients spending thousands on cosmetic dentistry and sharing results instantly on social platforms, there’s zero tolerance for obvious dental work. A crown that’s even slightly off-shade becomes the focal point of every smile, undermining confidence rather than building it.

The Science Behind Colour Perception in Dentistry
Natural teeth aren’t uniform in colour. They exhibit complex variations in:
- Hue – the basic colour family
- Chroma – colour saturation or intensity
- Value – lightness or darkness
- Translucency – how light passes through
- Fluorescence – how teeth appear under different lighting
Environmental factors significantly impact assessment. Fluorescent lighting can shift colour perception by up to 15%, whilst dehydrated teeth appear brighter and more opaque than their true shade.
Essential Equipment and Setup
Required Photography Equipment
Professional shade matching demands specific tools:
- Camera: DSLR or mirrorless with macro lens capabilities
- Recommended settings: Nikon 105mm, ISO 2000, f22, 1/250 shutter speed
- Lighting: Twin flash system with 5500K colour temperature
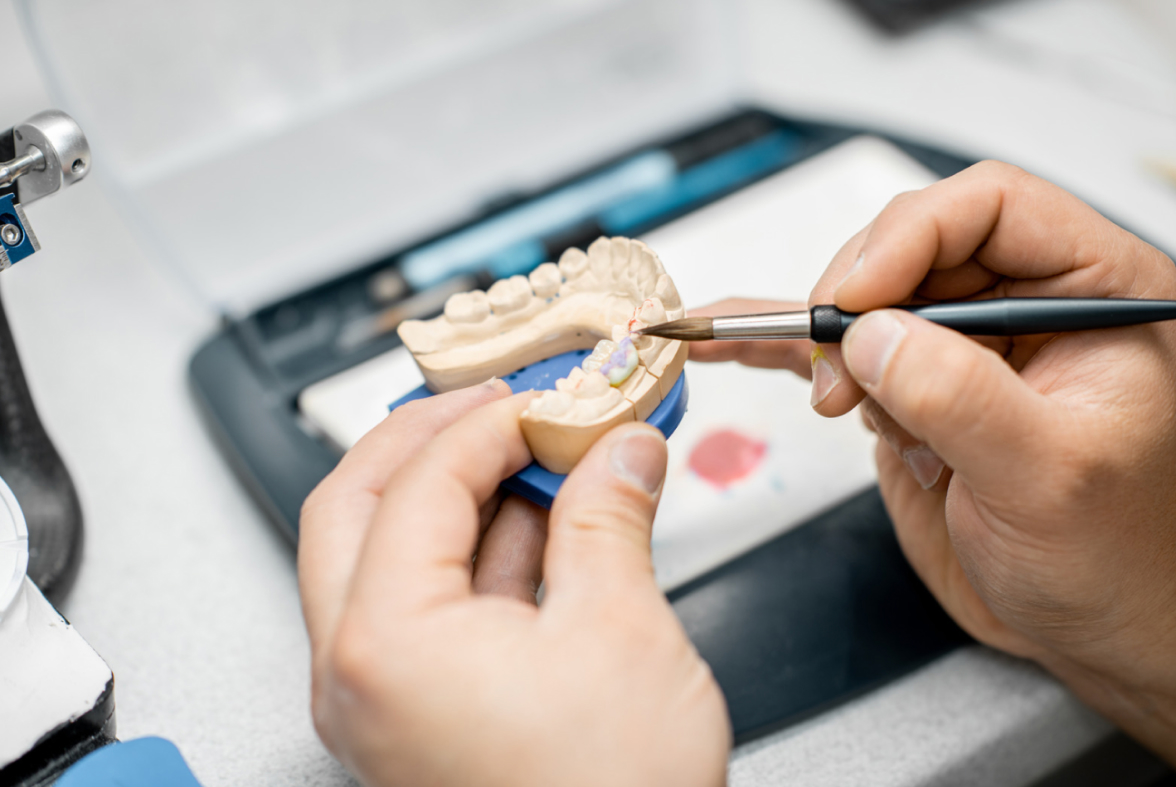
- Shade guides: Vita Classical or Vita 3D Master systems
Patient Preparation Protocol
Success starts with proper preparation:
- Clean, moist teeth throughout the entire process (dry teeth appear 15% brighter)
- Remove coloured makeup that can distort colour perception
- Position patient level with camera frame for consistent perspective
- Complete photography before treatment to capture natural appearance
Step-by-Step Shade Matching Process
1. Lighting and Environment Control
Establish consistent conditions using 5500K daylight bulbs with no mixed lighting sources. This replicates natural outdoor lighting conditions and ensures accurate colour assessment.
2. Shade Tab Positioning
Position shade tabs edge-to-edge with the target tooth, maintaining the same plane of view. Use a minimum of three shade tabs for comparison to account for subtle colour variations.
3. Photography Sequence
Capture five essential views:
- Close-up with shade tabs – Multiple tabs positioned for direct comparison.
- Retracted smile view – Shows complete dental arch context
- Natural smile photograph – Demonstrates facial aesthetic integration.
- Detailed tooth analysis – Uses black contrast paddle for characteristics.
- Patient smile close-up – Overall smile harmony assessment
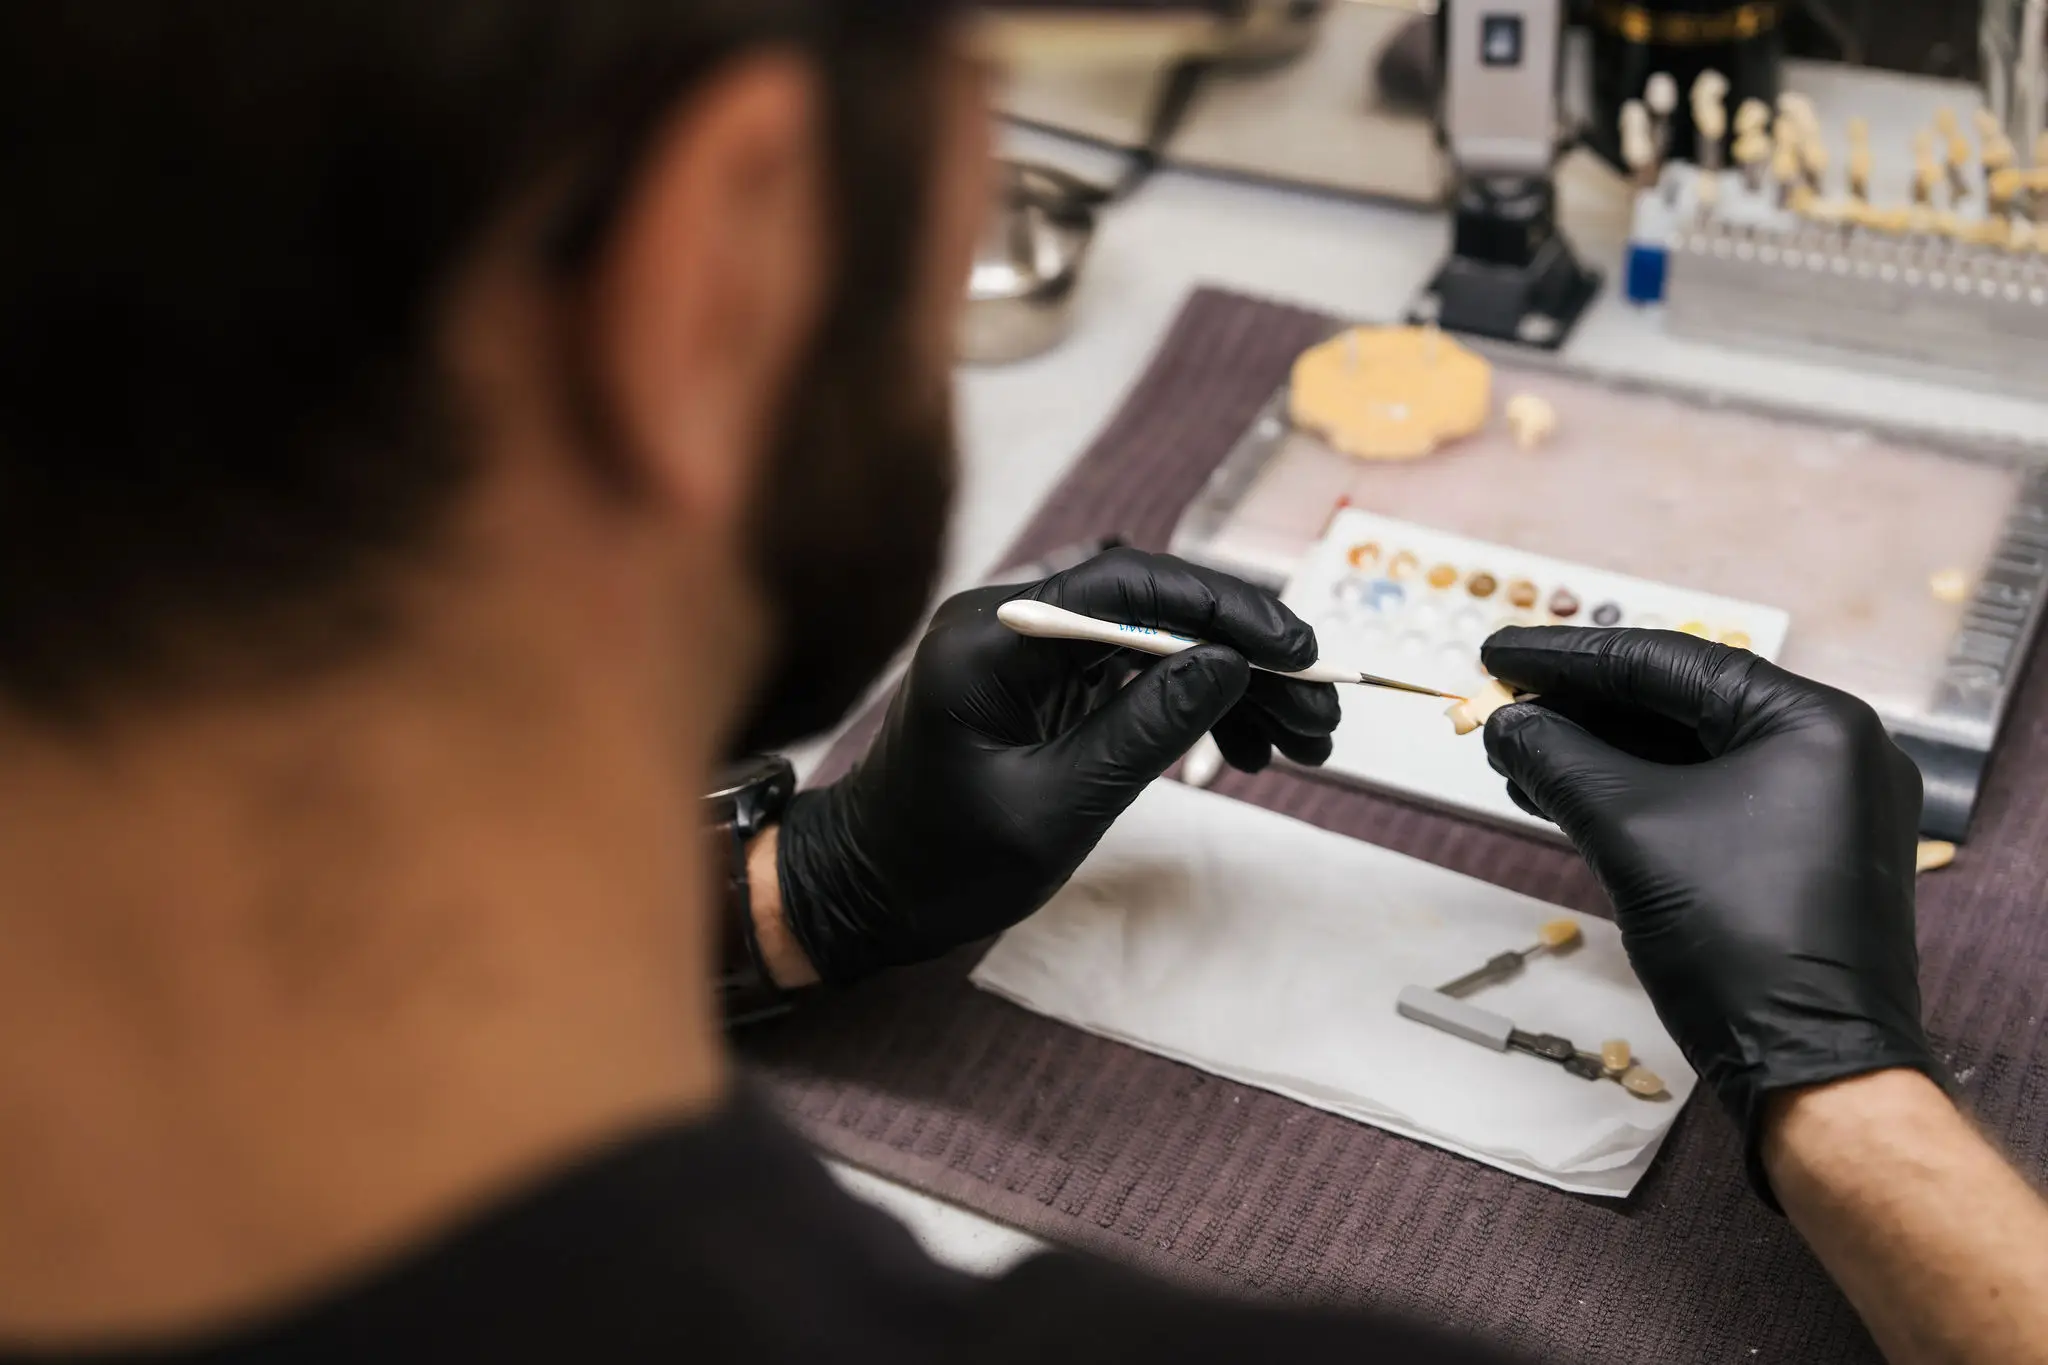
Material-Specific Considerations
Zirconia Restorations
High-strength zirconia requires careful opacity management. Document cervical-to-incisal colour transitions and surface texture variations for accurate reproduction.Lithium Disilicate (E.max)
Superior translucency characteristics demand precise edge documentation. These materials excel at mimicking natural enamel transparency but require expert colour layering.Full-Arch Prosthetics
All-on-4® and complete denture cases involve additional complexity. Consider skin tone, age-appropriate shading, and gingival colour variations for natural appearance.Digital Workflow Integration
Modern laboratories integrate comprehensive shade data with CAD/CAM systems. This digital documentation enables:
- Real-time collaboration between dentists and ceramists
- Consistent colour reproduction across different materials
- Digital archiving for future reference and adjustments
- Quality control verification throughout fabrication
Studies show that digital workflow integration achieves 99.6% success rates for complex multi-implant cases when combined with proper shade protocols.
Common Pitfalls and Solutions
- Dry teeth assessment – Maintain hydration throughout photography.
- Poor shade tab alignment – Ensure edge-to-edge positioning in the same plane.
- Inconsistent lighting – Use only 5500K sources, avoid fluorescent.
- Missing reference photos – Complete all five essential views.
- Inadequate documentation – Include material preferences and special characteristics
Quality Control and Laboratory Processing

Professional laboratories employ calibrated lighting conditions and trained ceramists who interpret shade information systematically. The process involves:
- Cross-referencing multiple light sources during fabrication
- Digital shade database verification for consistency
- Master ceramist evaluation using artistic expertise
- Final quality inspection before delivery
This comprehensive approach reduces remake rates from 12% to approximately 3% when protocols are followed consistently.
Investment and Returns Analysis
Protocol implementation costs:
- Equipment setup: $2,000-5,000 initial investment
- Staff training: 2-4 hours of education requirement
- Additional time: 10-15 minutes per case
Measurable returns:
- Remake reduction: 60-75% fewer colour-related issues
- Patient satisfaction: 25% increase in case acceptance rates
- Practice growth: 30-40% boost in referral generation
Troubleshooting Guide
Problem: Restoration appears too bright
Solution: Document cervical shade variations and natural surface texture
Problem: Poor integration with adjacent teeth
Solution: Include neighbouring teeth in a comprehensive shade assessment
Problem: Inconsistent results between cases
Solution: Standardise all photography equipment and environmental settings
Future Technology Integration
Emerging technologies include the integration of spectrophotometers and AI-powered colour analysis. However, trained ceramist expertise remains essential for complex characterisation and natural-looking results.
Digital tools enhance accuracy but cannot replace the artistic judgement required for exceptional aesthetic outcomes.
Download The RWD Complete Shade Matching Protocol
Access our comprehensive 11-page professional guide featuring detailed photography instructions, equipment specifications, submission checklists, and troubleshooting solutions. This resource ensures consistent results across all restoration types.
Transform your restoration outcomes with systematic shade matching. Contact RWD Dental Image for professional laboratory support and digital workflow integration.
Phone: 02 9389 2000 | Email: reception@rwddental.com.au
RWD Dental Image – Australia’s only Sydney-based All-on-4® Centre of Excellence, serving dental professionals nationwide with precision restoration services since 1993.